
Junk Eggbot


This is a two-part series on a new Junkbots project. In this part building the junkbot itself is discussed. In the second part controlling the junkbot via Crumble is discussed. The work was first shown at Mozilla Festival 29th October 2017.
Three inspirations for this project
·   Femi Owolade supported by Nic Hughes ran a session at Mozilla Festival 2016 using the Crumble’s to make a wheeled robot.
·   The junkbot project https://junkbots.blogspot.co.uk/
Kit
·      Kinder Egg (without the Chocolate and toy)
·      Battery pack and 3xAA
·      Vibrating motor
·      Tape (lots of)
·      Pens
·      Paper
·      Scissors
·      Glue and Gluegun (optional)


Stage 1: Fix the vibrating motor into the Egg.
Put the vibrating motor into the Egg with the motor electrical connections sticking out the bottom larger half of the egg. Make sure the unbalanced load is free to move – this is bit that causes the vibrations needed to move the egg. The motor can be held in place by sticky-tack or strong tape, or glue (when using glue this is done under adult supervision only).
IMG_0578.JPG


Stage 2: Sticking the pens on.
This is the trickiest bit. The easiest way to do is cut a strip of tape. Place two pens onto the tape ensuring the pens are the same length from the tape to the nib and the distance between the pens on the tape are far enough apart to place the egg between them.
IMG_0579.JPG
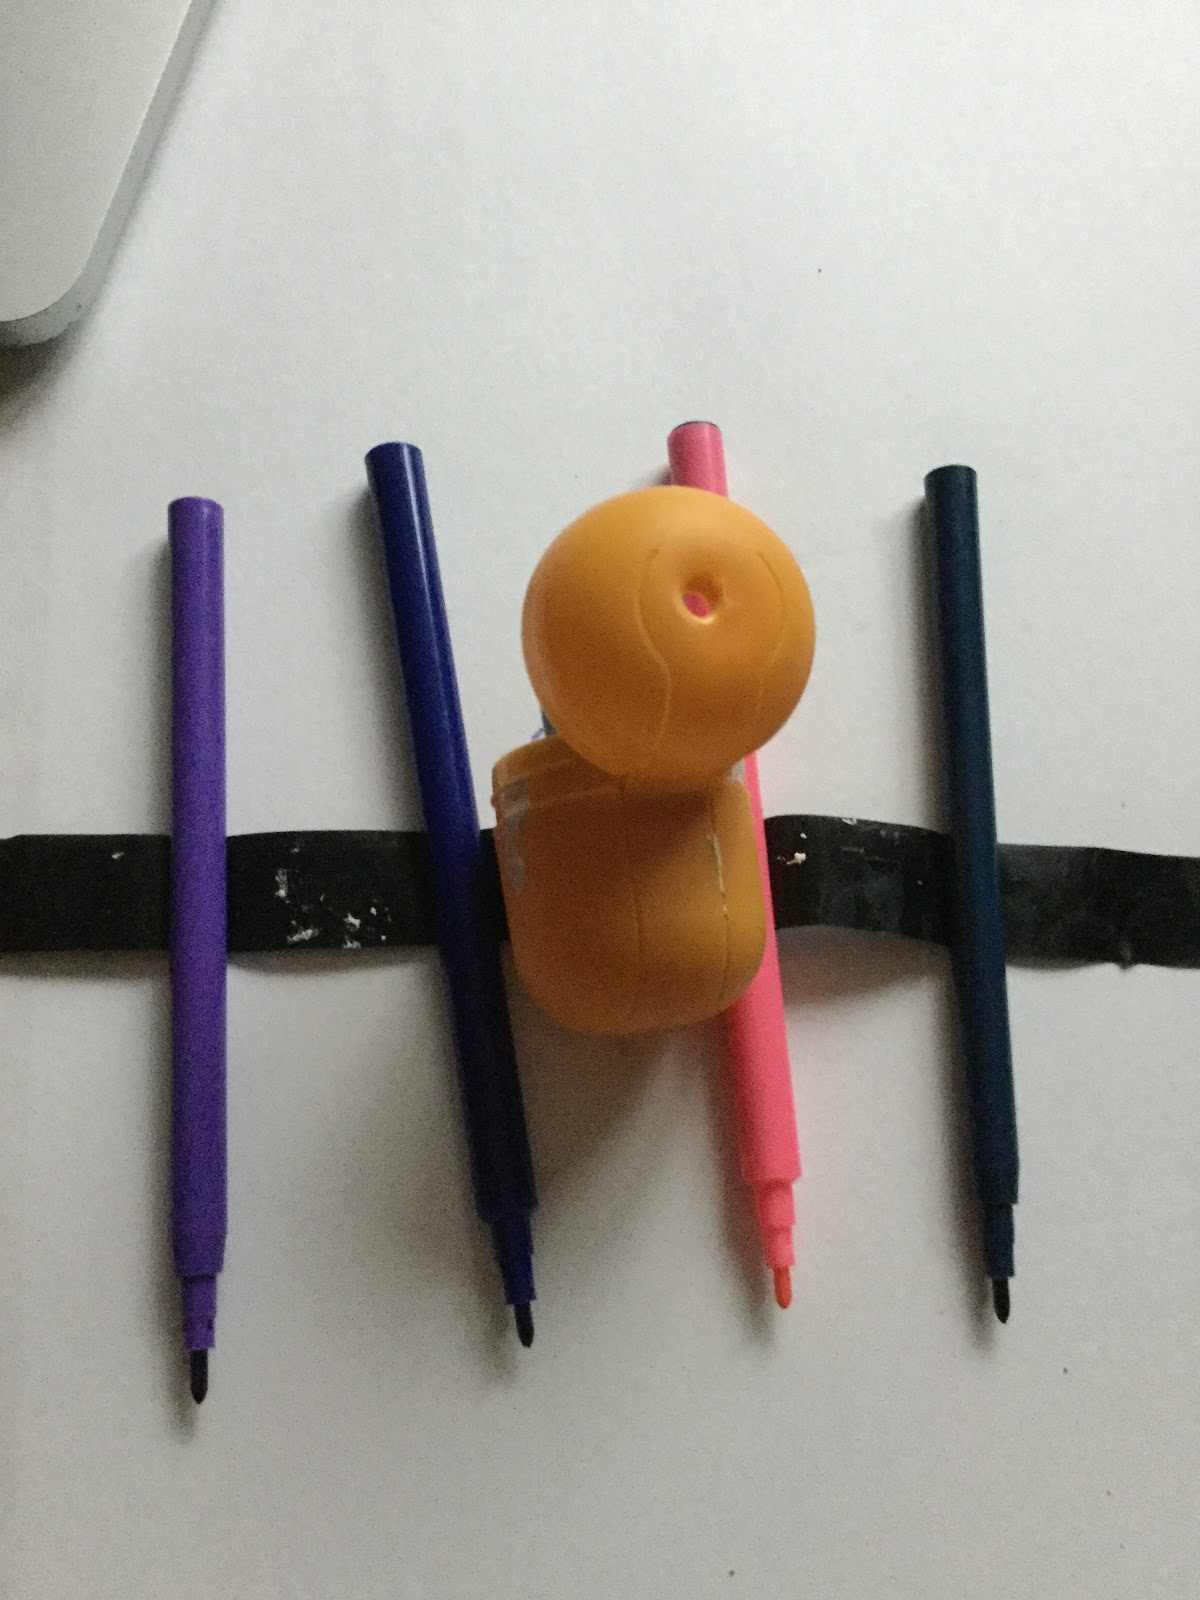
If you are using three pens, the third pen should be placed so that all three form a triangle with equal sides, that means the egg can stand-up on a piece of paper on the pen nibs, without anything supporting it.
If you are using four pens, the other two pens should be placed so that all four form a square with equal sides, that means the egg can stand-up on a piece of paper on the pen nibs, without anything supporting it.
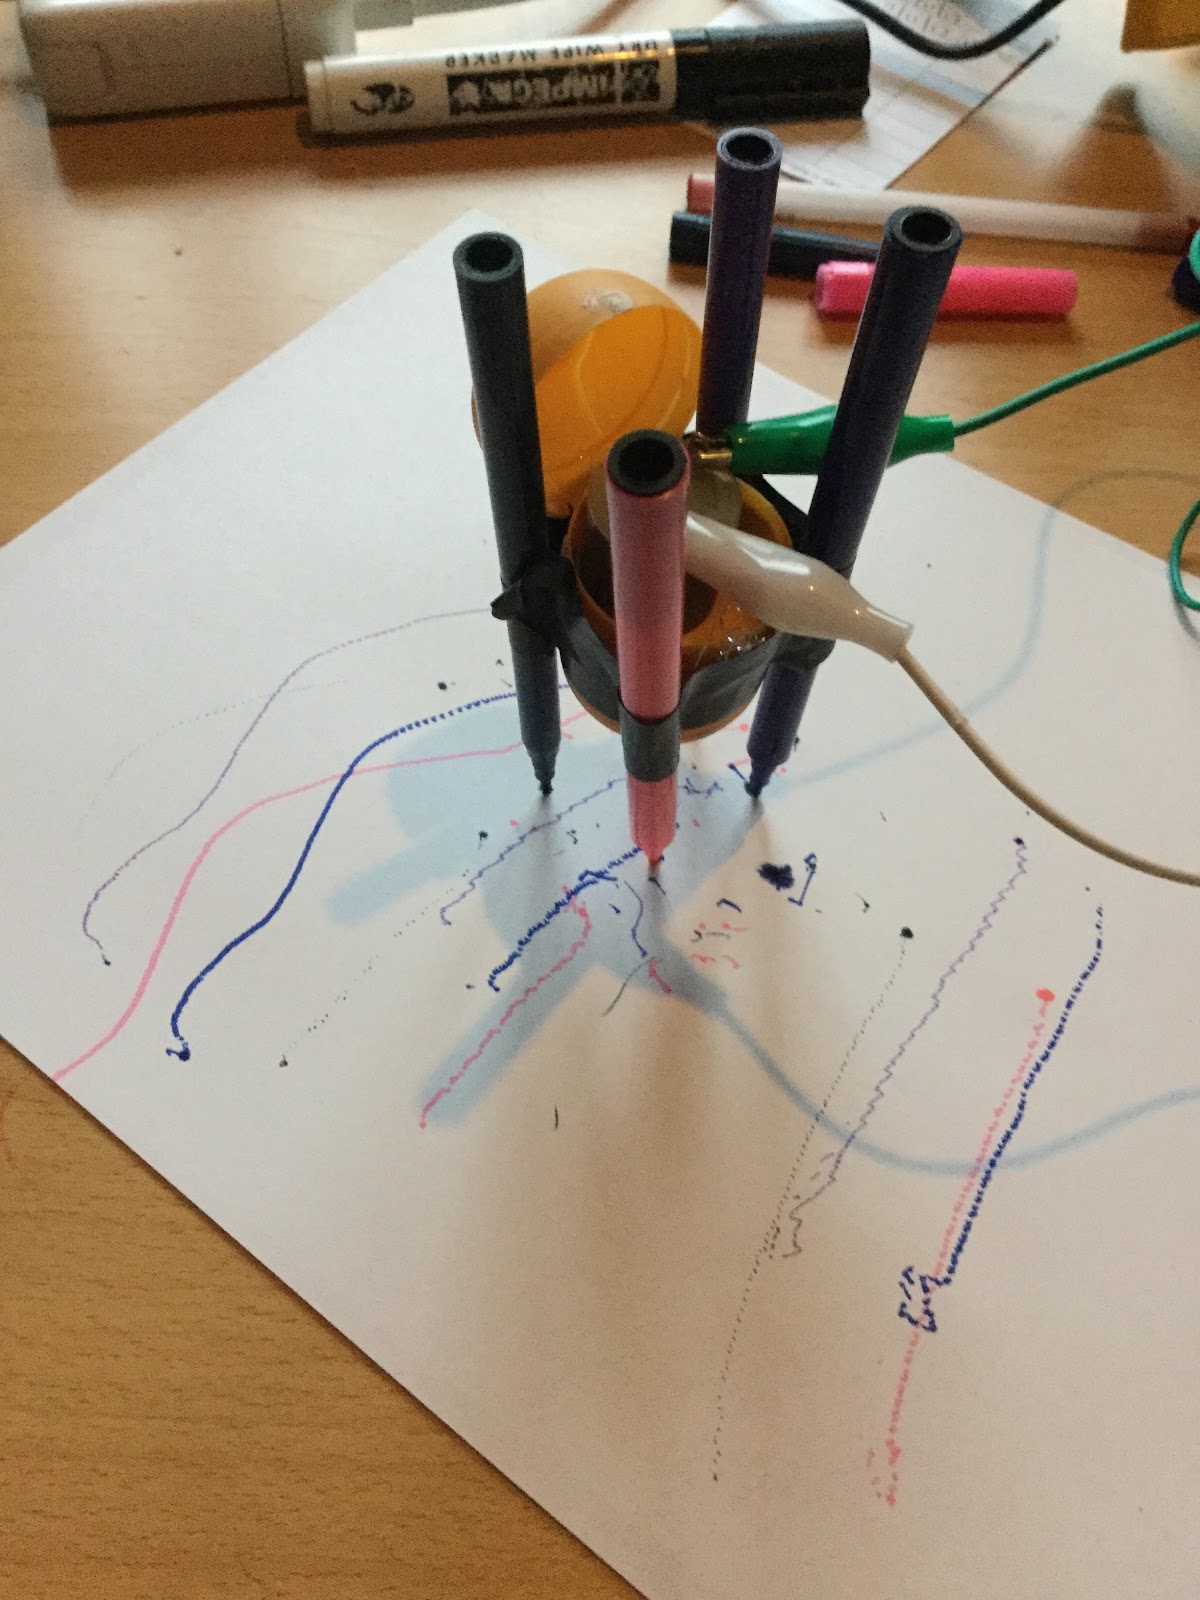
Stage 3: Add the battery pack and go.
Using two wires connecting the battery, to the motors. Remove the nibs and set the bot off. It is hopefully vibrating and shaking and scribbling lines on the paper.
IMG_0580.JPG IMG_0582.JPG


To see one in action go to: https://www.youtube.com/watch?v=NRlntdmdQRo


If you would like to know more about the Junkbots project contact scott.turner@northampton.ac.uk

Comments

Popular posts from this blog

junkbots 3 - bring it all together

Junkbots session 3: Move the robot but now there are rocks in the way.  This is the last of three posts - Introduction and sequence - Loops and just having fun - This one: Making decisions and bringing it all together. What is the Junkbots project The Junkbots project has been running for a number of years as an initiative to bring sustainability, computing and engineering together by building bots out of junk; details of the project can be found at.  https://junkbots.blogspot.com/  . Junkbots is an extension of the Research into the teaching problem-solving going on at the University of Northampton please feel to visit  https://computingnorthampton.blogspot.com/2019/01/problem-solving-research-outputs-and.html  for more details.   What are we going to do? ·         Play with a Scratch robot on the screen! ·         Build on the routines from the previous session. ·    ...

Junkbot Raspberry Pi: 2 Raspberry Pi Junkbot in action

First video of a junkbot being controlled by a Raspberry Pi. The bot was developed by Hayden Tetley and Scott Turner. Hayden's time was paid  for through the Nuffield Research Placements  Scheme ( http://www.nuffieldfoundation.org/nuffield-research-placements ). Next post will provide further details on how this was done. If you would like to know more about the Junkbots project contact scott.turner@northampton.ac.uk

Junkbot Raspberry Pi: 1 ScratchGPIO

A development I have being wanting to develop for a while is the combine the Raspberry Pi with a Junkbot to add some control.  This the first of postings about these experiments. All the development will be around ScratchGPIO ( http://cymplecy.wordpress.com/scratchgpio/ ) so this posting will look into its use . Why ScratchGPIO? Short answer - simplicity. It is designed to look and work like Scratch ( http://scratch.mit.edu/ ) but allowing access to board that can drive motors. Installing ScratchGPIO? As a suggest use as lastest as possible version of the operating system as you can on your SD card. Initially we had trouble with missing Python files that was resolved when using an updated version of the operating system. In the LXTerminal Type in: sudo wget http://goo.gl/Pthh62 -O isgh5.sh then type in sudo bash isgh5.sh You should get to new icons for ScratchGPIO5 and ScratchGPIO5Plus Now use these instead of the Scratch that came with the operating...